Credit: ESO/P. Horálek, M. Wallner
Astrophotography does not begin and end with a dark-sky site. A city balcony, suburban garden and remote observatory can all produce good images, but the targets that make sense (and the way you approach them) can be very different.
Light pollution is particularly damaging to faint, diffuse objects such as galaxies, reflection nebulae and dark nebulae because the artificial skyglow raises the background against which those details have to be recorded. Bright emission nebulae are often more forgiving because much of their light is concentrated in specific emission lines that can be isolated with suitable narrowband filters (more on that later).
That does not mean there is a simple list of "city targets" and "dark-sky targets". Your camera, telescope, focal ratio, filter, tracking accuracy, Moon phase and total integration time all affect what you can achieve. The aim of this guide is to help you make those decisions before you start an imaging session.
We published an insightful article by Or Graur about how light pollution has cut humanity’s ancient connection with the stars and how we can restore it. Read the full article here.
Astrophotography in Light-Polluted Areas
Imaging from a town or city presents an obvious problem: the sky background can become bright enough to overwhelm faint detail long before your telescope or camera reaches its theoretical limits.
The important distinction is between the brightness of the object and the type of light it produces. A bright emission nebula can remain surprisingly productive under a bright sky, particularly with a narrowband or dual-band filter. A faint galaxy, on the other hand, produces mostly broadband light and cannot be isolated from skyglow in the same way. This is why target selection matters so much when imaging from home.
Best Deep-Sky Objects for Light-Polluted Skies
1. Emission Nebulae
Emission nebulae are generally the strongest candidates for heavily light-polluted locations. Objects such as the Orion Nebula (M42), Lagoon Nebula (M8), Dumbbell Nebula (M27), Rosette Nebula and many regions of Cygnus contain strong hydrogen-alpha and oxygen emission.
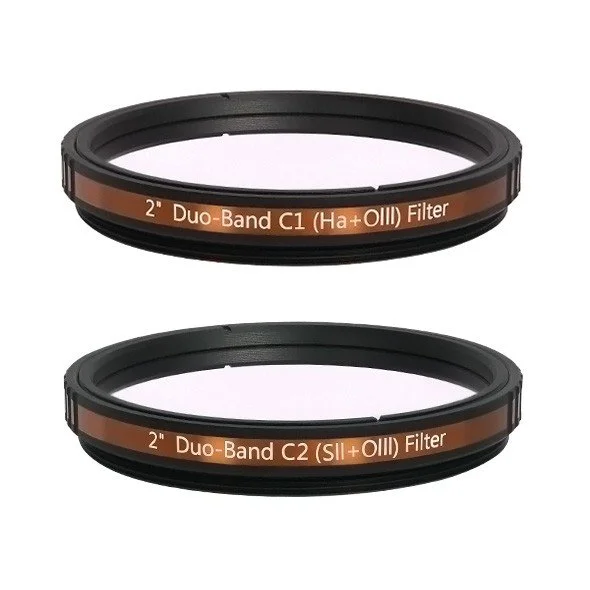
With a one-shot-colour (OSC) camera like the ToupTek ATR2600C, a dual-band filter can substantially reduce the amount of unwanted background light reaching the sensor while retaining important emission from the nebula. A monochrome camera gives you even more control, allowing individual H-alpha, O III and S II channels to be captured separately.
The result is not simply a darker image. The filter is exploiting the difference between the spectrum of the target and much of the unwanted sky background.
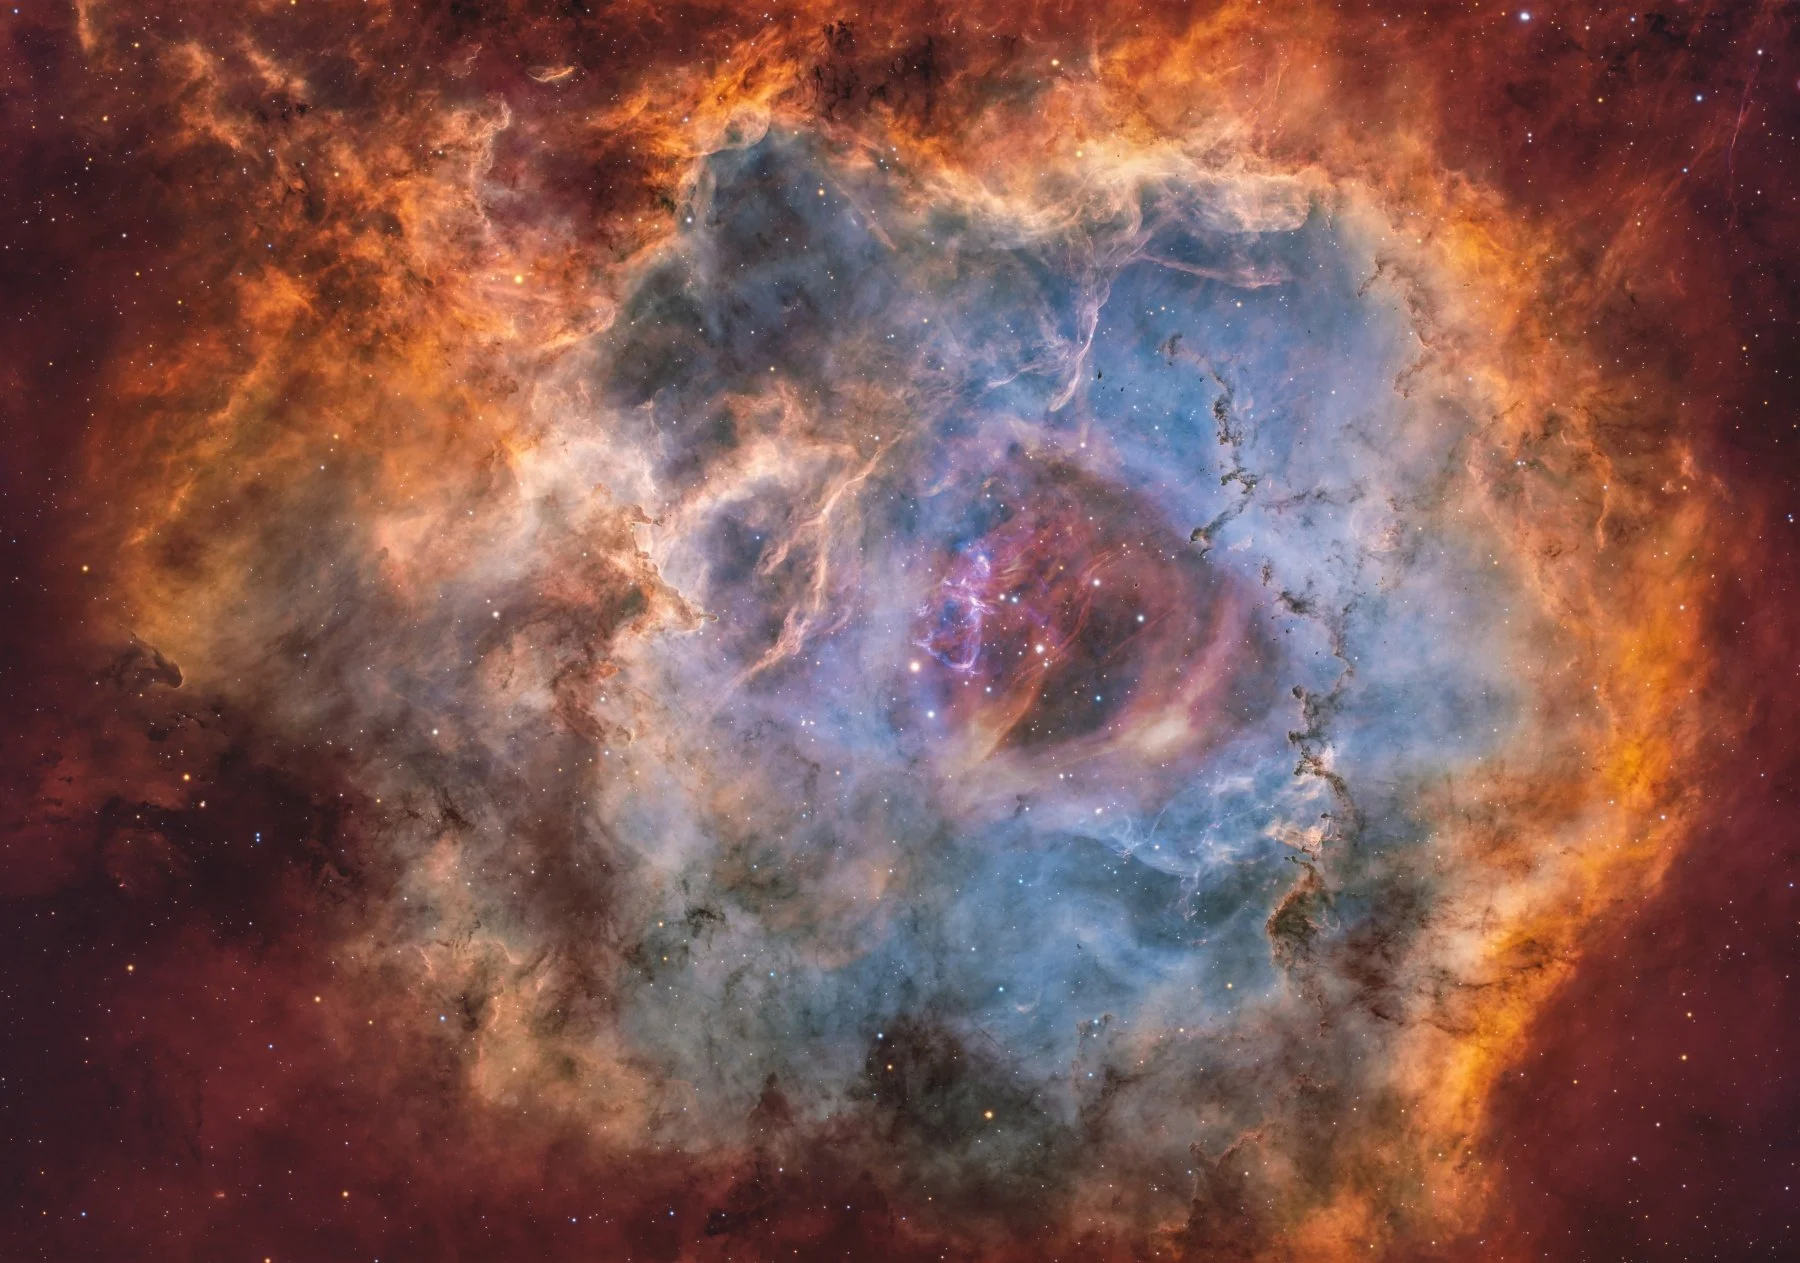
The Rosette Nebula by Jeffrey Horne, captured from a Bortle 8 sky
2. Planetary Nebulae
Compact planetary nebulae such as the Ring Nebula (M57), Dumbbell Nebula and Owl Nebula (M97) can be excellent urban targets. Their small apparent size is not, by itself, what makes them resistant to light pollution; their relatively high surface brightness and strong emission lines are more important.
Their compact size can, however, be an advantage when using a longer focal length because the object can be recorded with enough scale to separate it from the surrounding sky.
3. Globular Clusters
Globular clusters such as M13, M3 and M92 are also worth considering. They are dominated by stars rather than emission lines, so narrowband filters are not the solution here. Instead, their relatively concentrated stellar light makes them considerably more forgiving than very faint diffuse objects.
A dark sky will still improve the image, particularly by revealing the outer regions of the cluster, but a good globular can remain an enjoyable target from suburban and even some urban locations.
4. Bright Open Clusters and Solar System
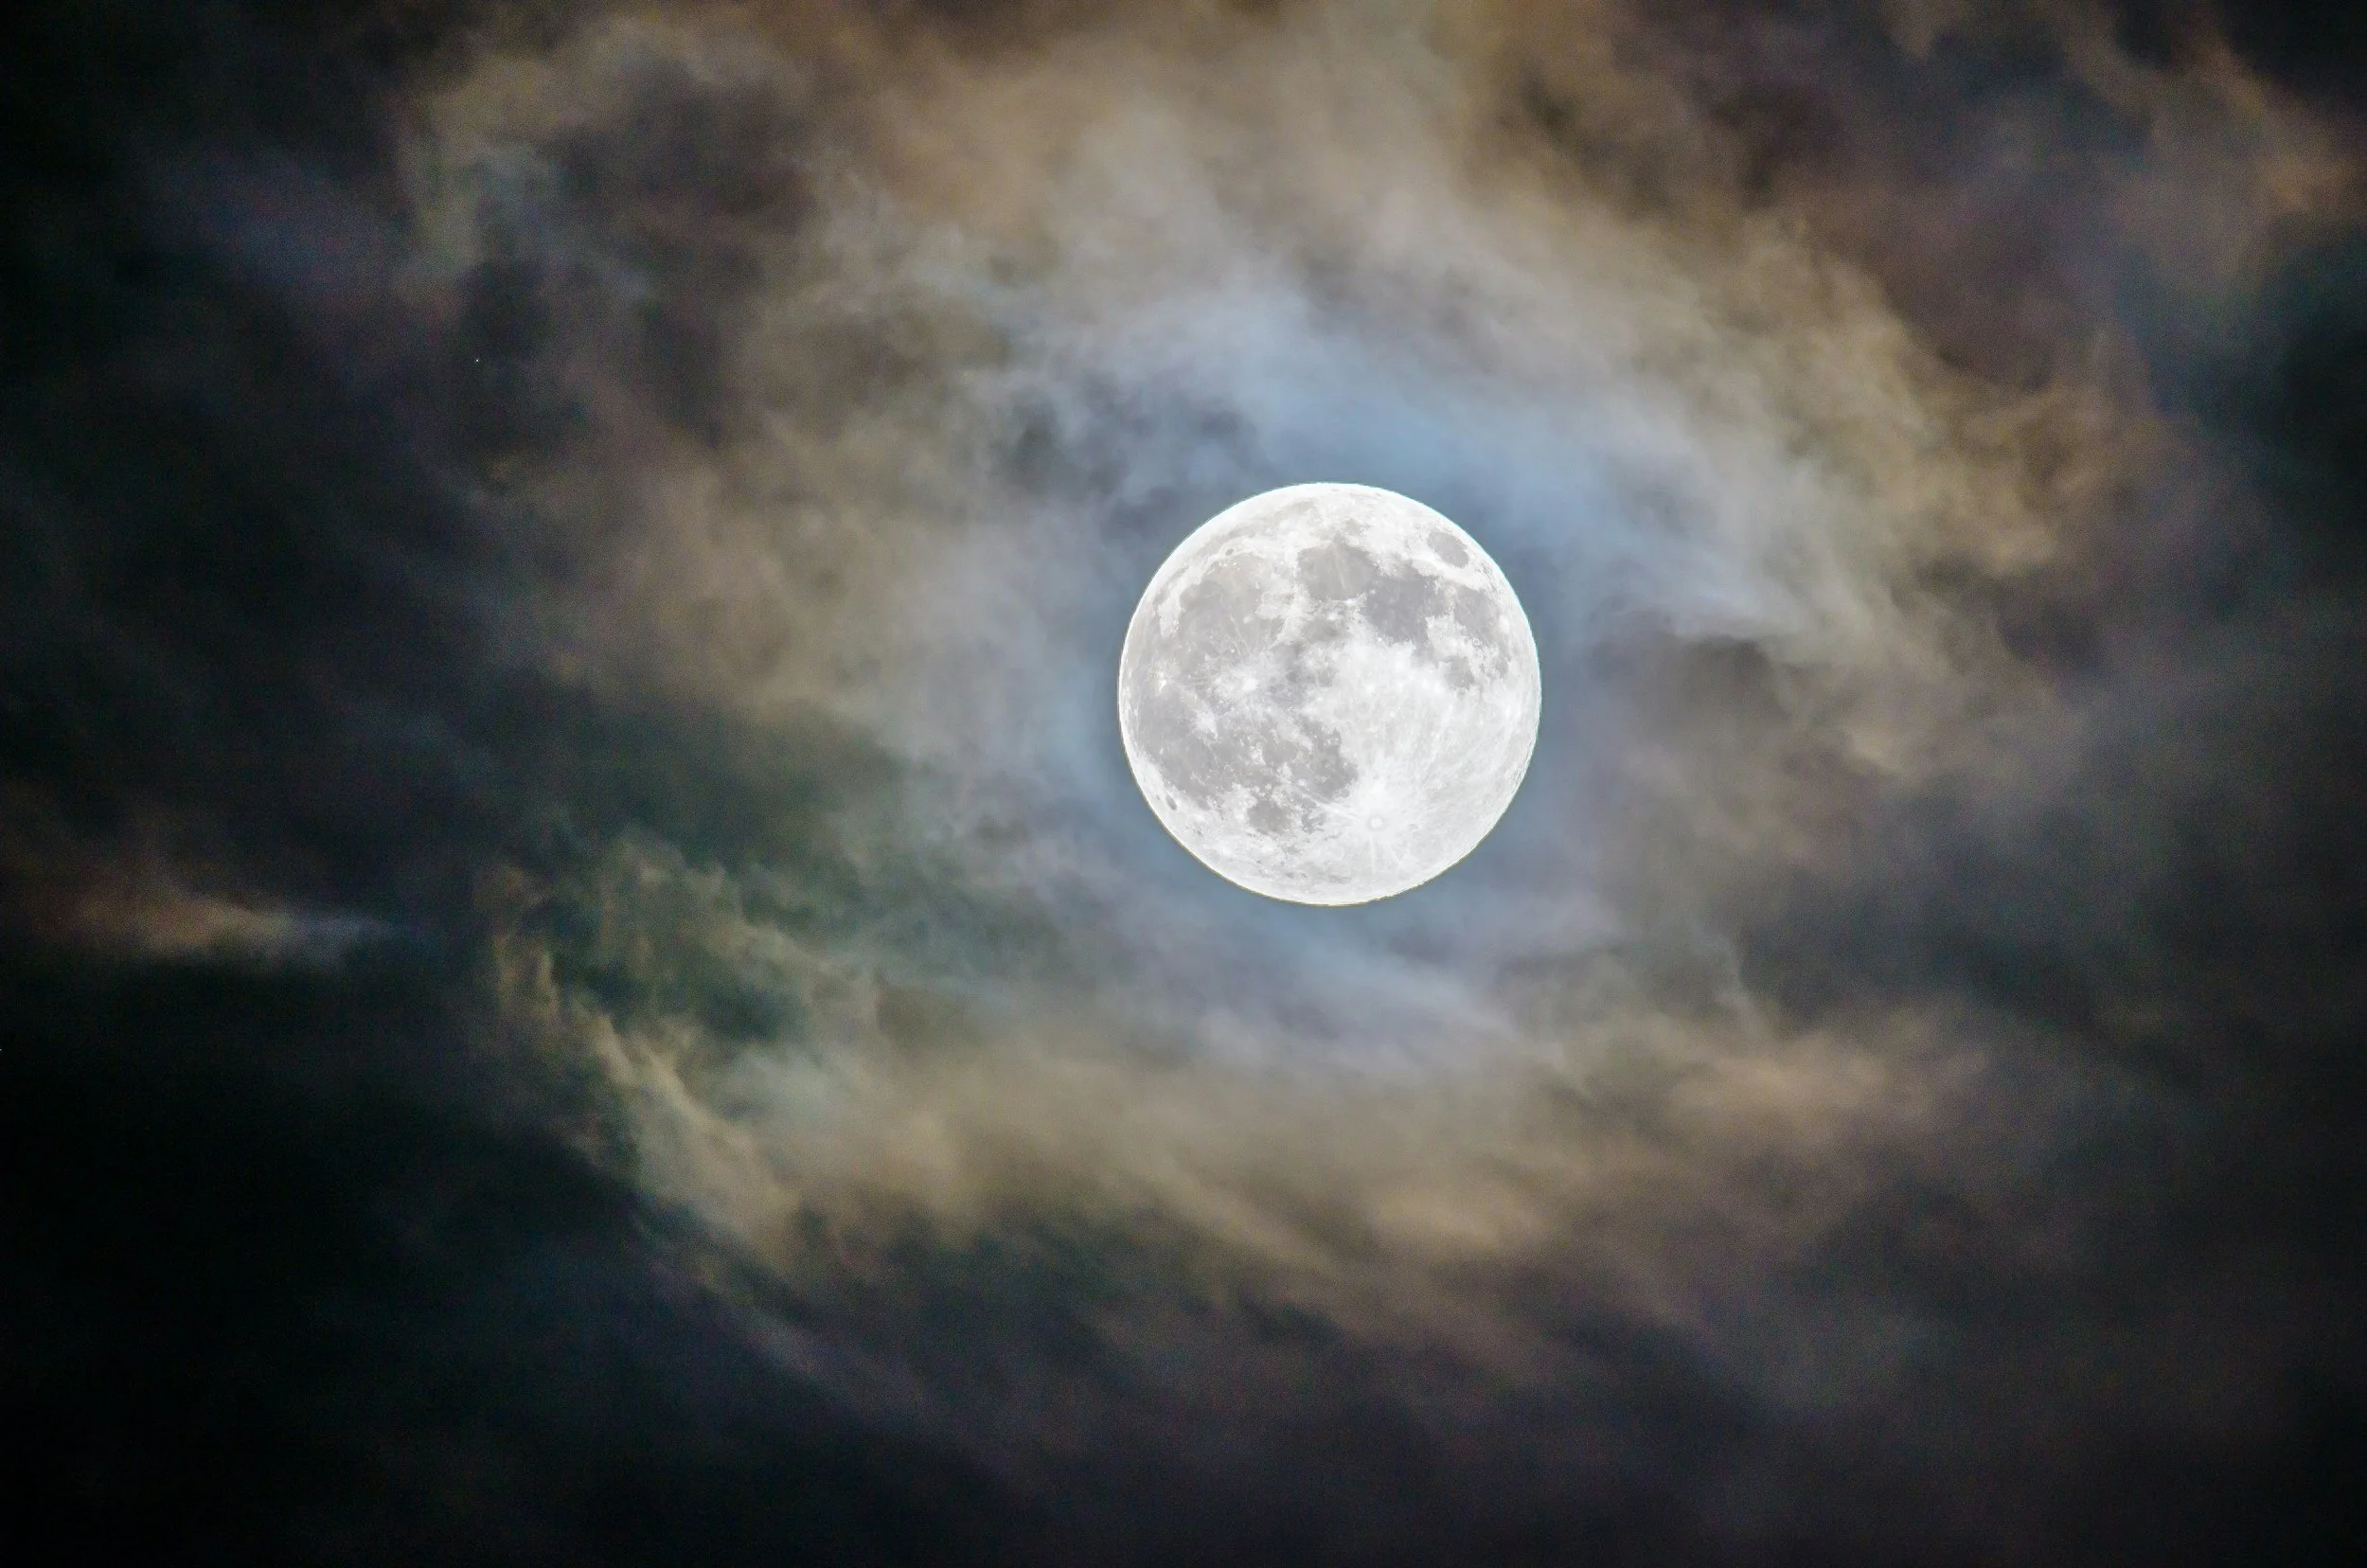
Image by Ganapathy Kumar
Open clusters are often overlooked when discussing light-polluted astrophotography. Bright clusters such as the Pleiades (M45), Double Cluster in Perseus and M44 can produce attractive images even when the background sky is far from ideal.
They also provide a useful change of pace from faint-nebulosity projects. Rather than trying to remove every trace of the background, you can concentrate on star colour, composition and the surrounding field.
The Moon and planets are, of course, another excellent option. They are not deep-sky targets, but they are slightly unaffected by the problems that make faint deep-sky imaging difficult in bright skies.
Tips for Light-Polluted Locations
Choose the filter for the target, not the location. Narrowband and dual-band filters are particularly effective on emission nebulae because they pass selected emission lines while rejecting much of the surrounding skyglow. They are not a universal solution for galaxies, globular clusters or reflection nebulae.
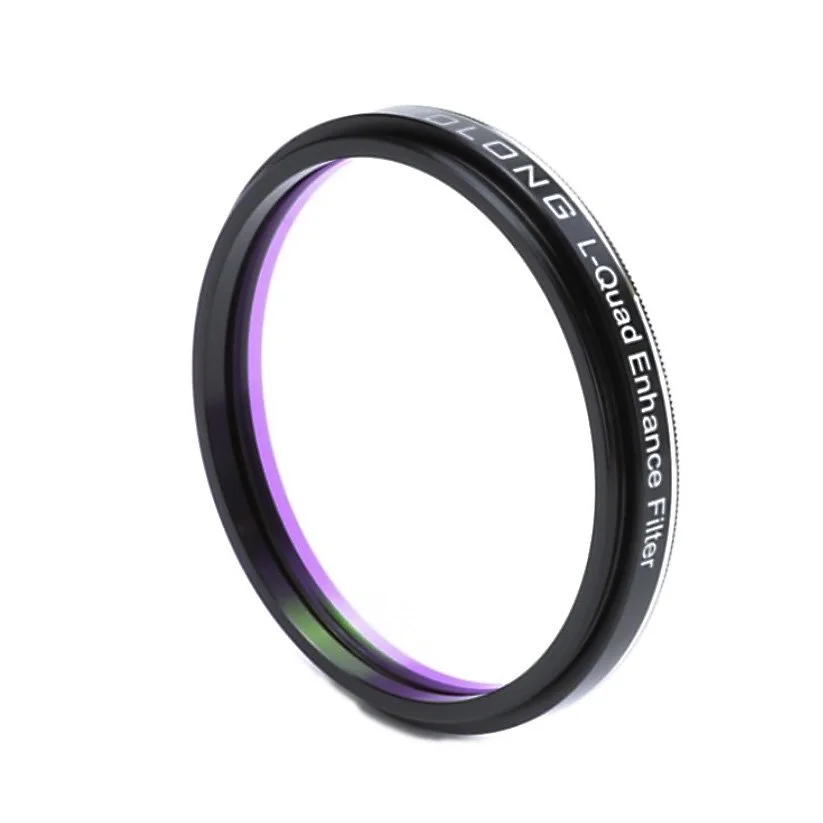
Broadband light-pollution filters can still be useful in some circumstances, particularly under moderate light pollution, but their performance depends heavily on the spectrum of the local lighting. Older filters were often designed around the relatively narrow spectral signatures of sodium and mercury street lighting. Modern white LED lighting is generally broader, so the results can be much less dramatic than older astrophotography guides suggest.


Do not assume shorter exposures are always better. The old advice to use something like 30–120 seconds from a city is far too broad to be useful. The appropriate sub-exposure depends on your camera's read noise and gain, the target, filter, focal ratio, sky brightness and tracking. Your aim is to expose long enough to record useful signal without unnecessarily saturating stars or allowing the background to dominate.
If the sky background rises rapidly, shorter sub-exposures may make sense. With a narrowband filter, however, the background can be much darker and substantially longer exposures may be perfectly practical.
Total integration time matters. Ten two-minute exposures are not by default better than one twenty-minute exposure, nor is the reverse universally true. There are practical limits imposed by tracking, saturation, read noise, guiding, satellites and aircraft. What matters most is collecting enough good data to build signal while keeping individual frames usable.
Stacking those calibrated frames allows random noise and unwanted transient artefacts to be reduced while the astronomical signal accumulates.
Keep the target high in the sky. This is useful anywhere, but particularly important when fighting a bright horizon. A low target means looking through more atmosphere, increasing extinction and scattering. The same object can therefore look noticeably worse when it is close to the horizon than when it reaches a higher altitude.
Watch the Moon as carefully as the streetlights. Moonlight is another source of sky brightness and can have a substantial effect on faint targets. Narrowband imaging can reduce its impact, but it does not make the Moon irrelevant. For broadband targets, especially galaxies and reflection nebulae, a moonless window is often worth protecting. Use After Dark Calendar to keep track of the Moon brightness.

After Dark Calendar allows you to keep track of the Moon phase and offers nightly targets to image.
Use calibration and good processing rather than trying to solve everything with a filter. Flats, darks where appropriate, good dithering and careful background extraction can make a significant difference. A filter cannot remove gradients caused by a nearby streetlamp, illuminated building or uneven skyglow after the light has already entered the optical system.
For more advanced astrophotographers, using a motorised flat panel like the WandererCover V4-EC can be a game-changer.
For a deeper look at measuring your conditions, our review of the Unihedron Sky Quality Meter explains how sky brightness can be measured in magnitudes per square arcsecond rather than relying solely on visual descriptions.
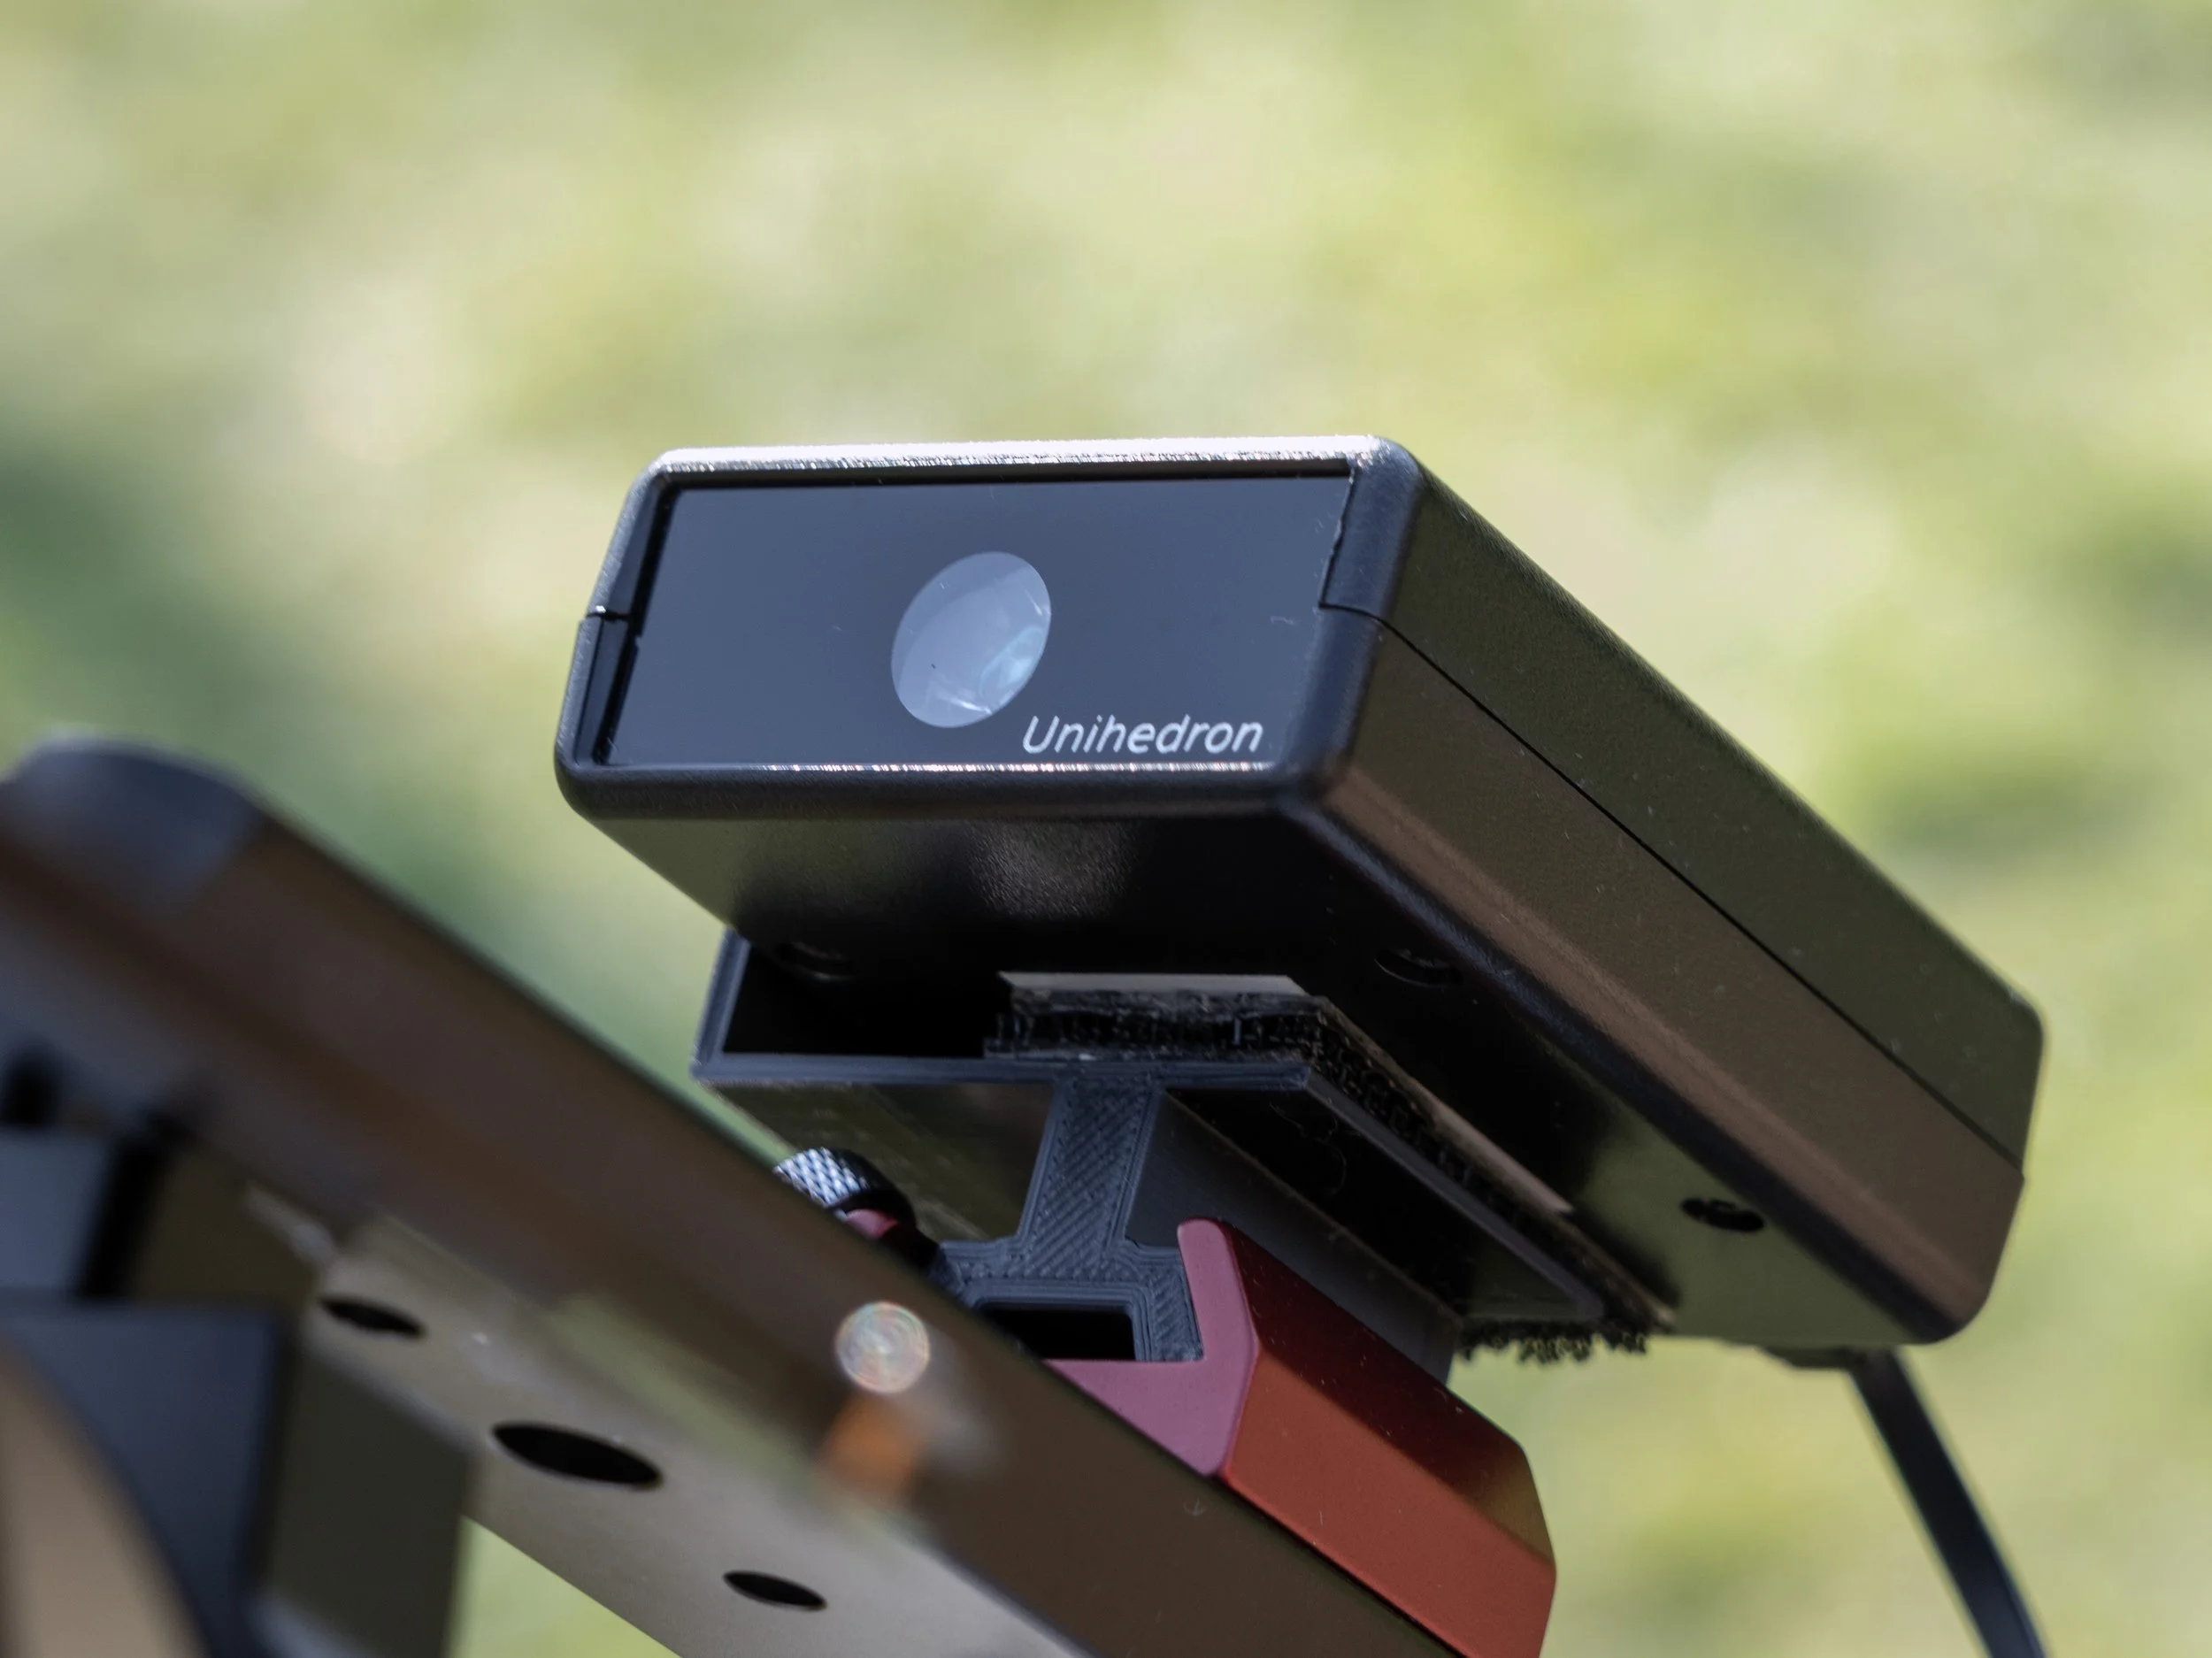
Real-time readings of sky brightness by Unihedron’s Sky Quality Meter
Astrophotography from Dark-Sky Locations
The difference becomes obvious when you move away from artificial skyglow. A dark site does not simply make the same photographs easier. It opens up targets and structures that are extremely difficult to separate from the background under bright skies.
The Bortle scale is useful for describing overall sky darkness, but it should not be treated as a precise measurement. It is a nine-class visual scale based on several characteristics of the night sky, including the visibility of the Milky Way, zodiacal light and faint deep-sky objects. A Sky Quality Meter provides an objective numerical measurement of sky brightness in magnitudes per square arcsecond, making it particularly useful when comparing imaging locations.


Best Deep-Sky Objects for Dark-Sky Sites
1. Faint Nebulae and Integrated Flux Nebulae
This is where a dark sky can completely change what is possible. Integrated Flux Nebulae (IFN), faint reflection nebulae and extensive dusty structures can have extremely low surface brightness. They do not benefit from the same narrowband isolation as a bright emission nebula, so reducing the natural and artificial background becomes critical.
The dark structures around the Pleiades and the extensive dust surrounding regions such as the Polaris Flare are good examples of the sort of subject that rewards a genuinely dark site.
2. Galaxies and Their Faint Outer Structures
Galaxies are broadband targets, which makes them particularly sensitive to sky brightness. A darker site can reveal faint spiral arms, dust lanes, outer halos and surrounding structures that can disappear into the background from a city.
M31, M51, M81 and M82 are relatively bright galaxies, but a dark sky can still make a major difference to the amount of faint surrounding structure that can be recovered. More demanding targets become increasingly realistic as the sky improves.
3. Dark Nebulae and Molecular Clouds
Dark nebulae are not bright objects in the conventional sense. They are regions of dust seen because they obscure light behind them. Their appearance depends heavily on contrast with the surrounding sky and stars.
The Dark Horse Nebula, Pipe Nebula and the extensive dust structures around the Rho Ophiuchi region are excellent examples. These are exactly the sort of subjects that can look disappointing from a bright backyard and extraordinary under a dark sky.
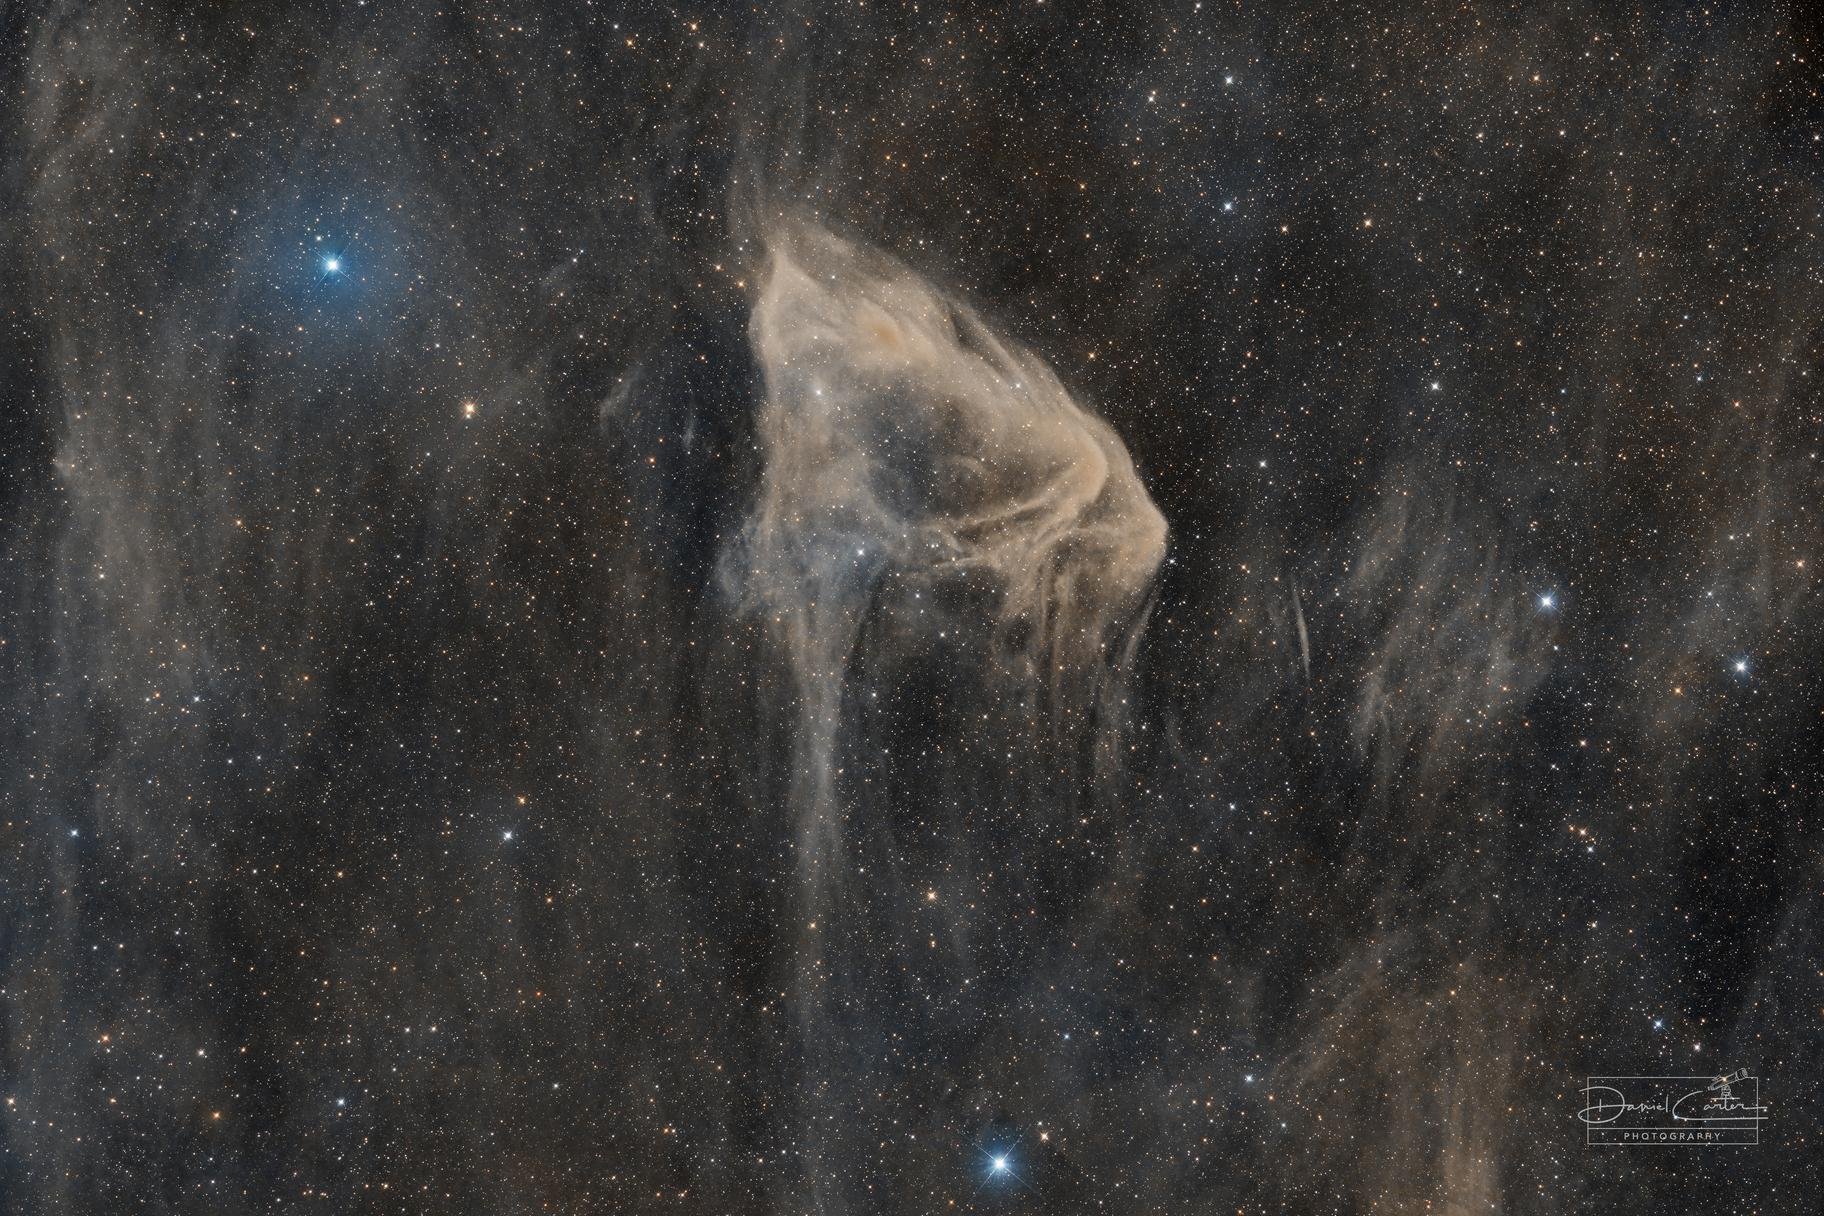
Sh2-63 by Daniel Carter, captured from a Bortle Class 1 sky
4. Wide-Field Milky Way Regions
A dark site is also where wide-field imaging really comes into its own. The Milky Way contains enormous areas of emission, reflection and dark nebulosity that can be photographed together in a single composition.
Rho Ophiuchi, Cygnus, Sagittarius and the broader Milky Way around the Galactic Centre all benefit from a clean, dark background. A fast wide-field lens or short-focal-length refractor can be more useful here than a long telescope, because the goal is often to capture the relationship between multiple structures rather than isolate one object.
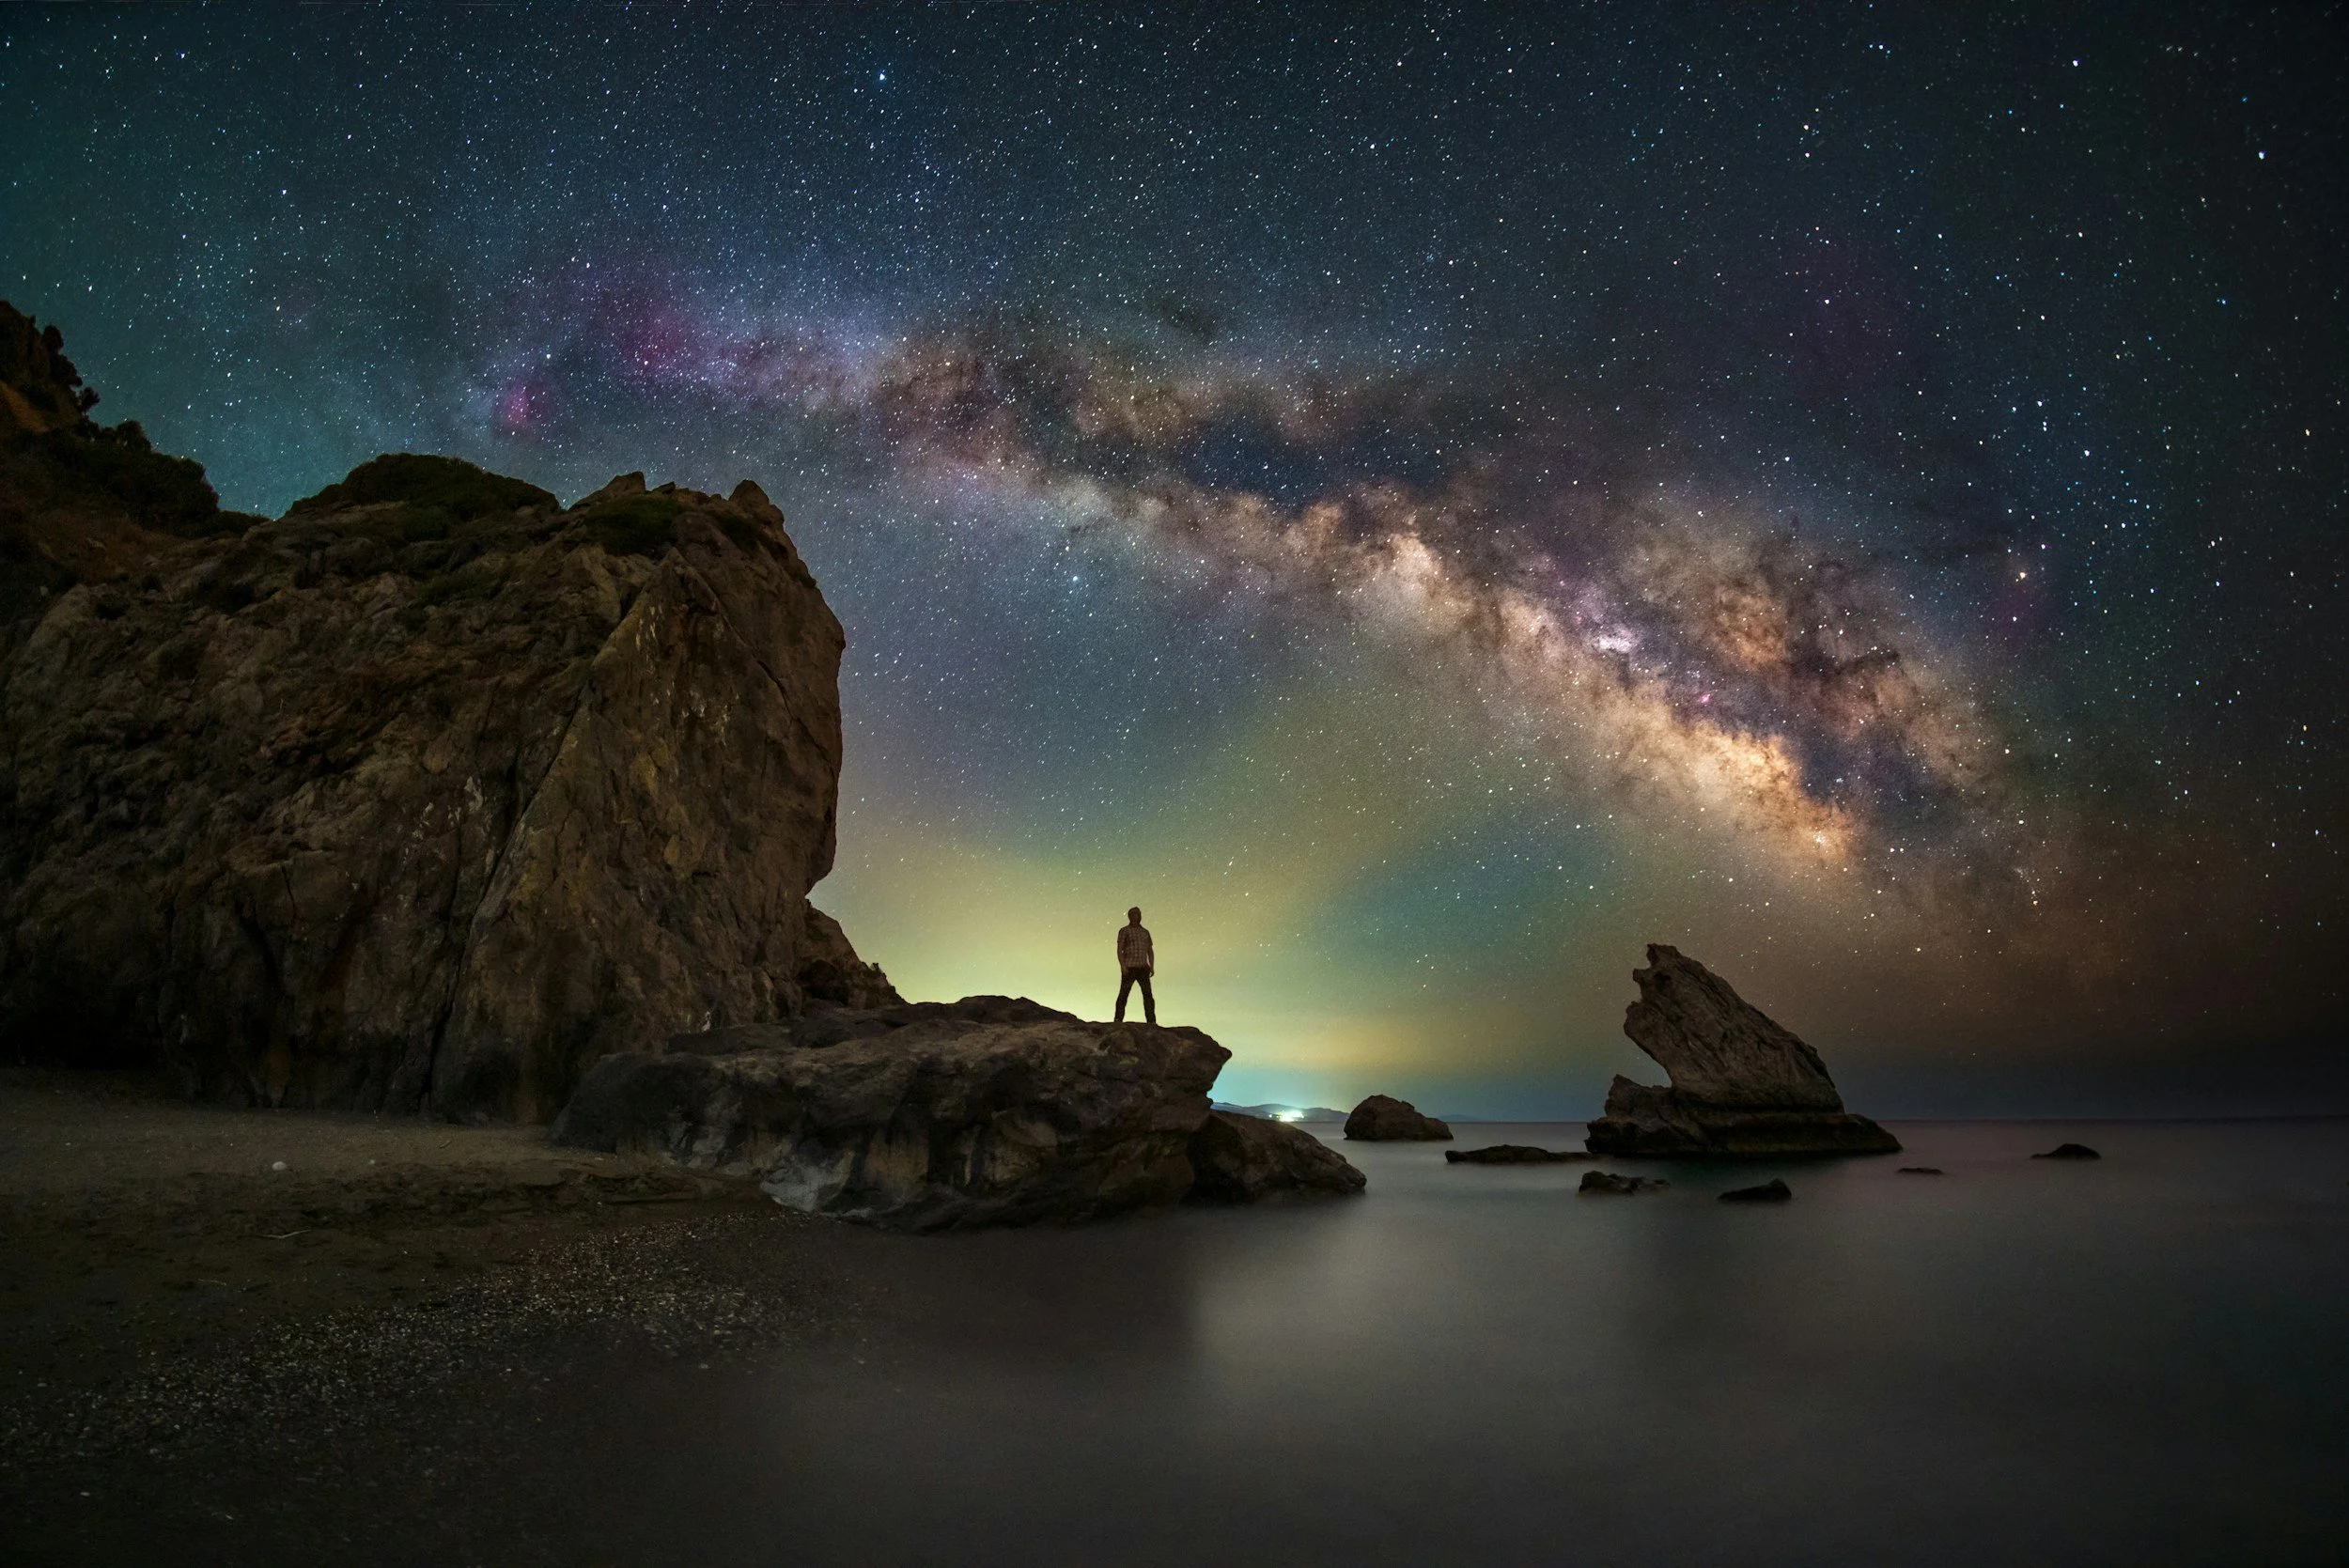
by Evgeni Tcherkasski
Tips for Dark-Sky Locations
Do not automatically make your exposures longer. A dark sky gives you more headroom, but the optimum sub-exposure still depends on the camera, optics, filter and mount. A five- or ten-minute exposure may work beautifully with one setup and be unnecessary or counterproductive with another.
Your histogram, star saturation, tracking and camera characteristics are better guides than an arbitrary exposure time. So, master your numbers. Our article The Big Seven: Why Numbers Matter in Astrophotography looks at measurements such as SQM, mean ADU, star count, eccentricity and SNR, all of which can help you understand what your imaging system is actually doing rather than relying on guesswork and simply just eyeball it.
Use the Moon strategically. A dark site is at its most valuable when the sky itself is dark. Plan your faint broadband targets around moonless periods where possible. If the Moon is up, it does not necessarily mean the night is wasted; brighter targets or suitable narrowband subjects can still be productive. Make After Dark Calendar your permanent companion.
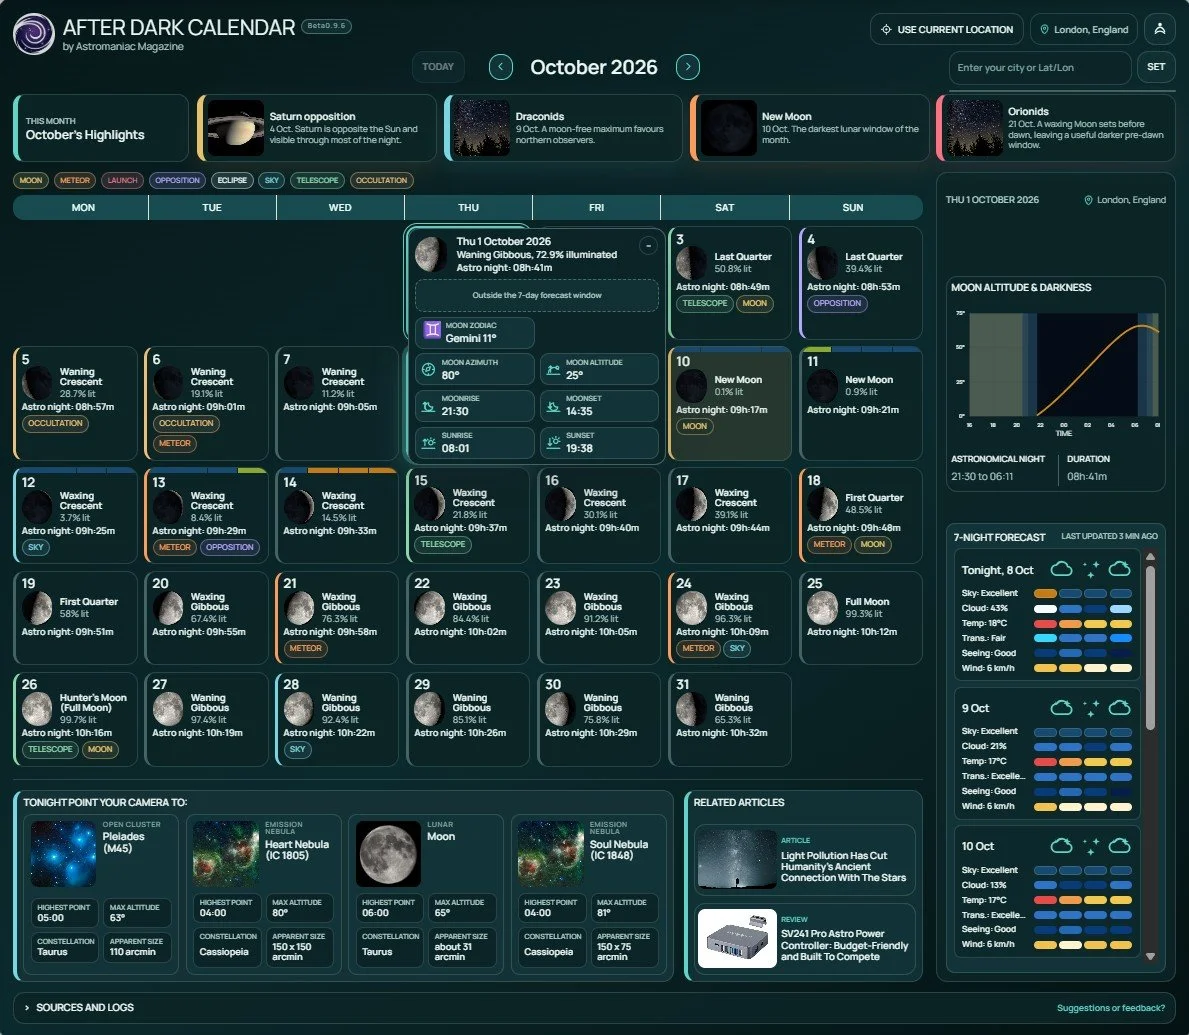
After Dark Calendar by Astromaniac Magazine
Spend the good nights on the difficult targets. Bright emission nebulae can be photographed successfully from many locations. If you have travelled several hours to a genuinely dark site, consider using that time for targets that are much harder to reproduce at home: faint galaxies, dark nebulae, reflection nebulae, IFN and extremely faint outer structures.
Give the target enough altitude. Darkness alone cannot compensate for poor atmospheric conditions. Objects close to the horizon are viewed through a much greater column of atmosphere, increasing extinction and the effects of scattering and turbulence. When possible, build your imaging schedule around the period when your target reaches a useful altitude rather than simply when it becomes visible.
Make the most of the entire night. One of the advantages of a dark site is the ability to move between targets as conditions change. You might spend the early evening on a bright southern object, switch to a galaxy as it rises higher and finish with a wide-field Milky Way composition. Good planning can make a single clear night surprisingly productive.
What’s the Best Option for You?
There is no single piece of equipment that turns a poor sky into a dark one. The table below is therefore a starting point rather than a set of rules.
| Location | Targets to prioritise | Filters | What matters most |
|---|---|---|---|
| Urban / very bright sky | Bright emission nebulae, planetary nebulae, globular clusters, bright open clusters | Dual-band or narrowband for emission nebulae; broadband for broadband targets | Target selection, filtering, gradients, total integration |
| Suburban / moderate sky | Emission nebulae, brighter galaxies, clusters, brighter reflection nebulae | Narrowband/dual-band for emission; broadband or no filter for many broadband targets | Integration time, target altitude, careful calibration |
| Rural / dark sky | Galaxies, dark nebulae, reflection nebulae, faint emission and wide-field Milky Way | Target-dependent; narrowband remains useful for emission nebulae | Transparency, Moon, integration time |
| Very dark sky | IFN, faint galaxy structures, dark nebulae, low-surface-brightness targets and wide-field complexes | Often broadband/no filter for broadband targets; narrowband where appropriate | Sky darkness, transparency, composition and long-term integration |
The Bortle classes shown in many astrophotography guides should be treated as a broad description of the environment rather than a hard boundary. A Bortle 5 site with an unobstructed horizon and good transparency can produce very different results from another Bortle 5 location beside a brightly illuminated town.
Likewise, two nights at the same site can produce different results. Transparency, humidity, aerosols, airglow and the Moon all affect the sky seen by the camera.

Photo by Evgeni Tcherkasski
Final Thoughts
The best astrophotography location is not necessarily the darkest place you can find. It is the place where your equipment, target and available time make sense together.
A city backyard can be remarkably productive if you concentrate on emission nebulae, compact planetary nebulae and bright clusters. A suburban site opens the door to a much broader range of targets, particularly when you combine sensible target selection with enough integration time. Once you reach a genuinely dark location, faint galaxies, dark nebulae, reflection nebulosity and enormous Milky Way structures become far more accessible.
That is also why a filter should never be chosen simply because a location has a particular Bortle rating. An H-alpha or dual-band filter can be extremely effective on an emission nebula and completely inappropriate for a galaxy. Broadband filters can still have a place, but their effectiveness depends on the actual spectrum of the light around you. Modern LED lighting has made the old idea of a universal "light pollution filter" increasingly difficult to defend.
If you want to know what your own sky is really doing, measuring it is more useful than guessing. A Sky Quality Meter can give you a repeatable brightness measurement, while your imaging software can reveal changes in background level, star count, eccentricity and signal-to-noise throughout the night.
And if the problem is not just what you can photograph from home, but how much time you are losing to poor weather and light pollution, there is another option. Our recent feature, Remote Telescope Hosting: Why Astrophotographers Are Moving to Darker Skies, looks at the growing number of facilities that allow astrophotographers to place their own equipment permanently under darker skies. The night sky is not the same everywhere. Your astrophotography does not have to be either.
Read more about humanity’s connection with the night sky here.
PixelSkiesAstro Remote Hosting Facility, province of Granada, Spain
Are you capturing deep-sky images from a challenging location? Share your best shots and experiences with the Astromaniac Magazine community by using #AstromaniacMagazine on Instagram. Alternatively, you can submit your photos to our Spotlight for a chance to have a dedicated featurette about your astrophotography journey.